Last post
Continuing from the previous post, this time we will proceed with setting tenant restrictions using GSA.

Youtube (English)
Step 1 is the same process as in the previous post.
The client PC has already been joined to Entra ID in advance.
Step 1: Configure default tenant restrictions v2
Entra Admin Center > Cross-tenant access settings > cross-tenant access settings > Default settings

Edit tenant restrictions defaults

Create Policy

The Policy ID is generated as shown below. Make sure to copy each value and keep them.

To set up a blocking policy for external accounts, configure it as shown below (default settings).

To block all external apps, configure the settings as shown below.

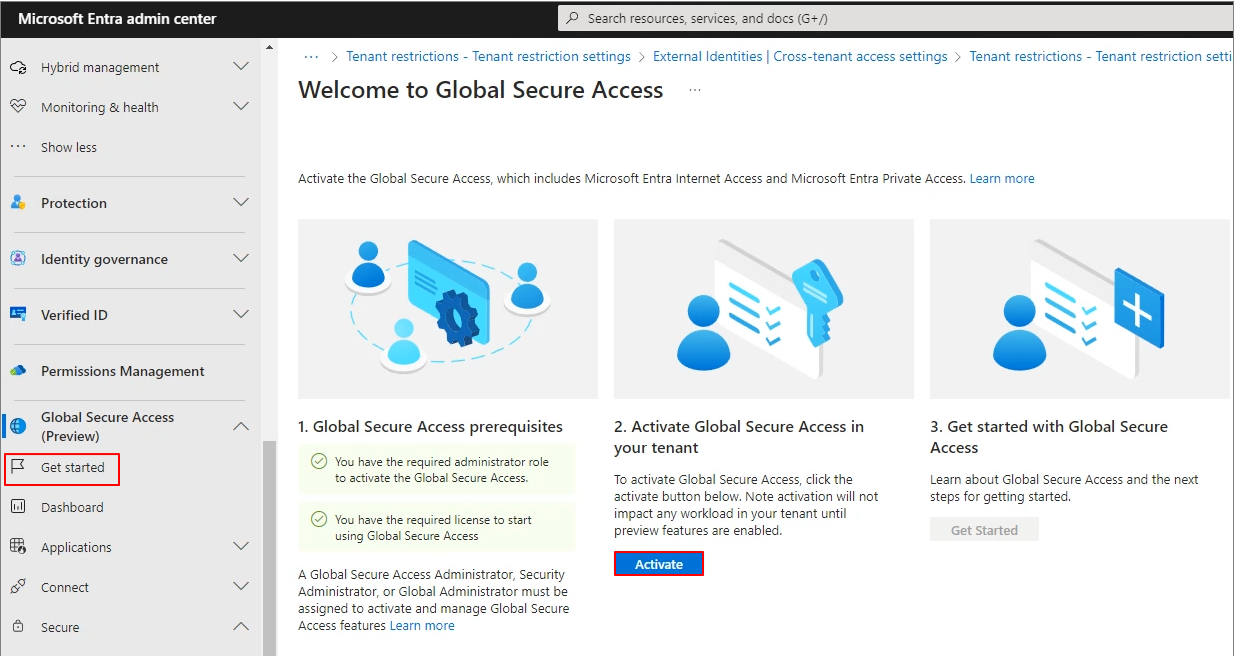
Step 2: Configure GSA
Click on Global Secure Access -> Activate to enable it.
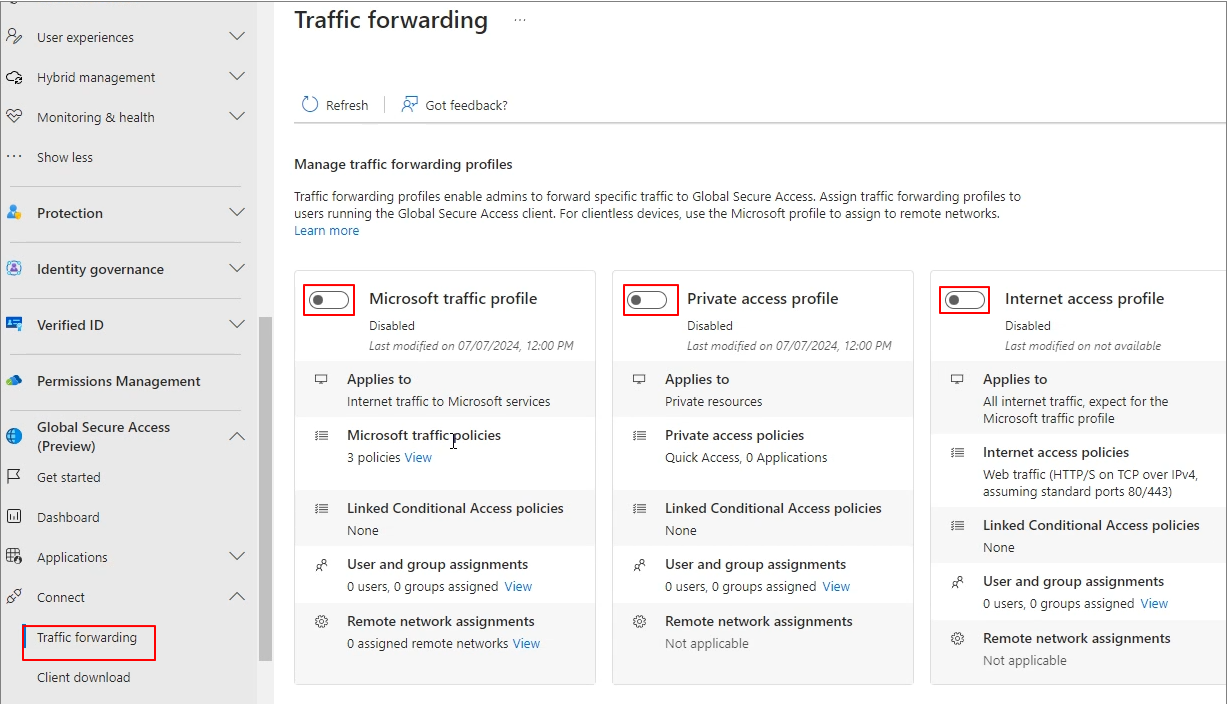
Connect -> Traffic forwarding -> Activate each profile.
Proceed with assigning users and groups.

Assign to all users -> Yes

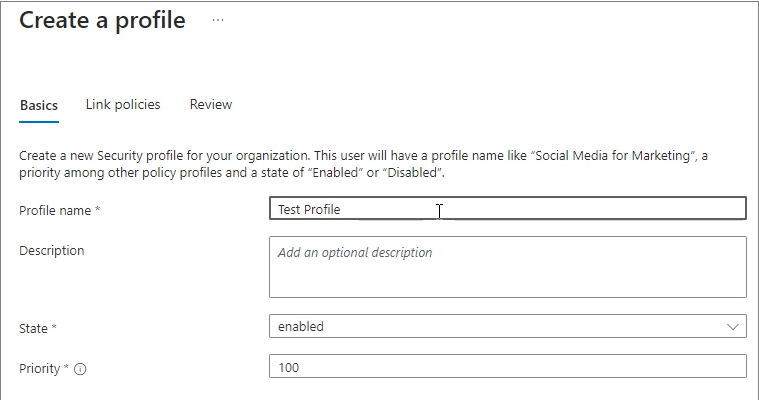
Secure -> Security profiles -> Create profile

Enter the profile name.
Link policy -> Existing policy

Link the default policy -> Proceed with the profile creation process.

Baseline profile

Change to Enabled status.

Step 3: Install GSA Client
Connect -> Client download

Download client (When deploying to actual users, Intune can be utilized.)

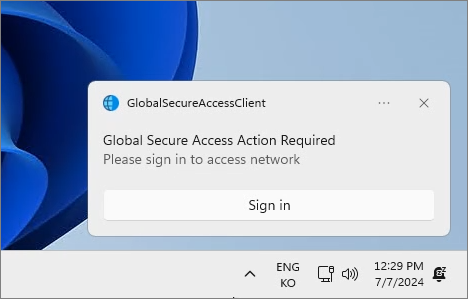
Proceed with the installation process of the GSA Client.

Sign in
Verify the connection status as shown below.

When logging in to a different tenant in Chrome, you can confirm that it is blocked as shown below.

The downside of the preview version is that the client has a Pause button.

Once officially released, it is expected to be built into the Windows service, similar to MDE.
'Microsoft 365 > Entra' 카테고리의 다른 글
| Entra. Verified ID (2). Enable & Test (English) (1) | 2024.09.20 |
|---|---|
| Entra. Verified ID (1). Introduction (English) (0) | 2024.09.20 |
| Microsoft Entra ID. Set up tenant restrictions v2 by GPO (English) (0) | 2024.07.06 |